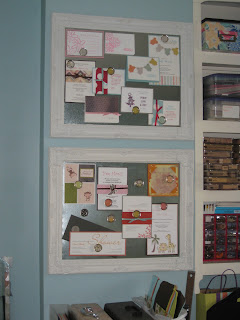
I've been seeing so many cute magnet boards on Pintrest that I decided to make one for myself. I've been using a fabric board to display my handmade cards in my craft room, and it's gotten quite a bit cluttered, as you can see.
I was inspired by the thrift store frames I keep seeing everywhere, and I wanted to incorporate the vintage frame with the magnet board. So I searched thrift stores, and I didn't find a single frame that had an ounce of vintage flare. Thankfully, I found exactly what I was looking for at Hobby Lobby in Columbia, MD!
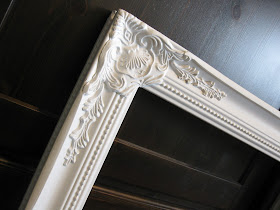
These frames were already painted white, so I didn't have to paint them or anything! Best part...they were 50% OFF! Since I needed a lot of space for my projects, I decided I would create 2 framed magnet boards.
Once I got the frames, I went to Lowes and purchased 2 - 16x36" sheets of metal in the plumbing department. In the tool section, I found a pair of metal cutters, so I could cut the pieces down to fit the frames. The metal sheets were about $7 each and the sheers were $9.
I measured the inside of the frames and cut the sheet metal to fit.
Then I used Gorilla Glue to adhere the metal sheets to the back of the frames.
Gorilla Glue is a bit tricky...and very, VERY sticky! Read the directions carefully. You're supposed to dampen the area you wish to glue to make it stick better. Then clamp the project for an hour. The glue also expands to 3 times its size, which caused some problems for me. I didn't have any clamps, so the sheet metal curled back in some places. It was easy enough for me to press back in place, but some of the glue seeped between the cracks onto the front of the frame.
Fortunately, it was easy enough to scrape and peel off with a flathead screwdriver. Ta da!!
Finally, I nailed some frame mounts to the back of the frames and hung them in my craft room.


No comments:
Post a Comment
Questions? Comments? Just let me know!